Next gen Pocket Pussy!
Buy now!
-Superior pocket pussy design
-Designed specifically for circumcised penises.
-Ideal for penises with about a 1 inch diameter.
Made from silicone, has a silicone/acrylic coating, and the outer shell is ABS plastic.
-approx. 1 month lifespan (with heavy use.) Shoot me an email if it breaks before then.
-Rinse out with water between uses. If a more thorough clean is desired, GENTLY use soap and water.
-Can be air dried, or you can use a heatgun or hair dryer to dry. Can also be used wet.
-Do NOT turn inside out/invert. It WILL break.
-Use with lube. Lubricate as necessary during use.
-GO SLOW
-Do not attempt to penetrate with a dildo, or otherwise stretch it out. It is somewhat fragile!
Review:
I invented, designed, and manufacture the thing. So feel free to take my review with a grain of salt. However, I do personally love my invention and using it has almost entirely supplanted the use of my hand. That is pretty impressive, but it is also worth saying it’s a little rough to use, kinda beats you up a bit. in a good way, but it is definitely a slightly harsher sensation that using your hand. Still my go-to option. You will also have to lube up like crazy, even mid jerk.
And then of course, eventually they do break, which I’ve tried to fix in all kinds of ways, and have yet to succeed at fixing. Research and development is ongoing, and once I find a longer lasting design that meets my standard of quality, I will be more than happy to offer it.
In the meantime, it’s a fine design. And again, I personally use it for every jerk. And when one breaks, I make another- it’s a good product. Never before have I used a sex toy that I would be willing to use every day, until I invented this thing. And Now I’ve been using it for almost every jerk for the last 2 years.
How It’s Made
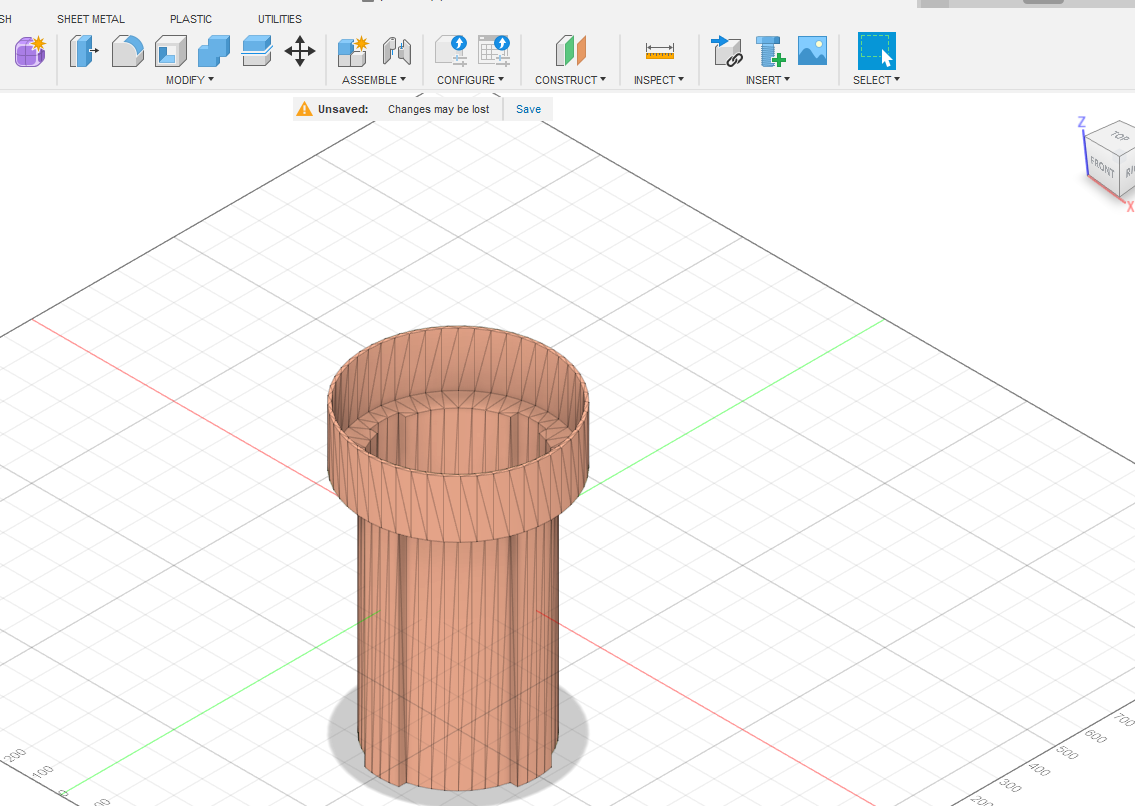
STEP 1: the mold pieces are designed in a 3D software. I’ve used both Autodesk Inventor, and Autodesk Fusion360.
STEP 2: The 3D files are then exported to a 3D print software, and then 3D printed out of PLA plastic.
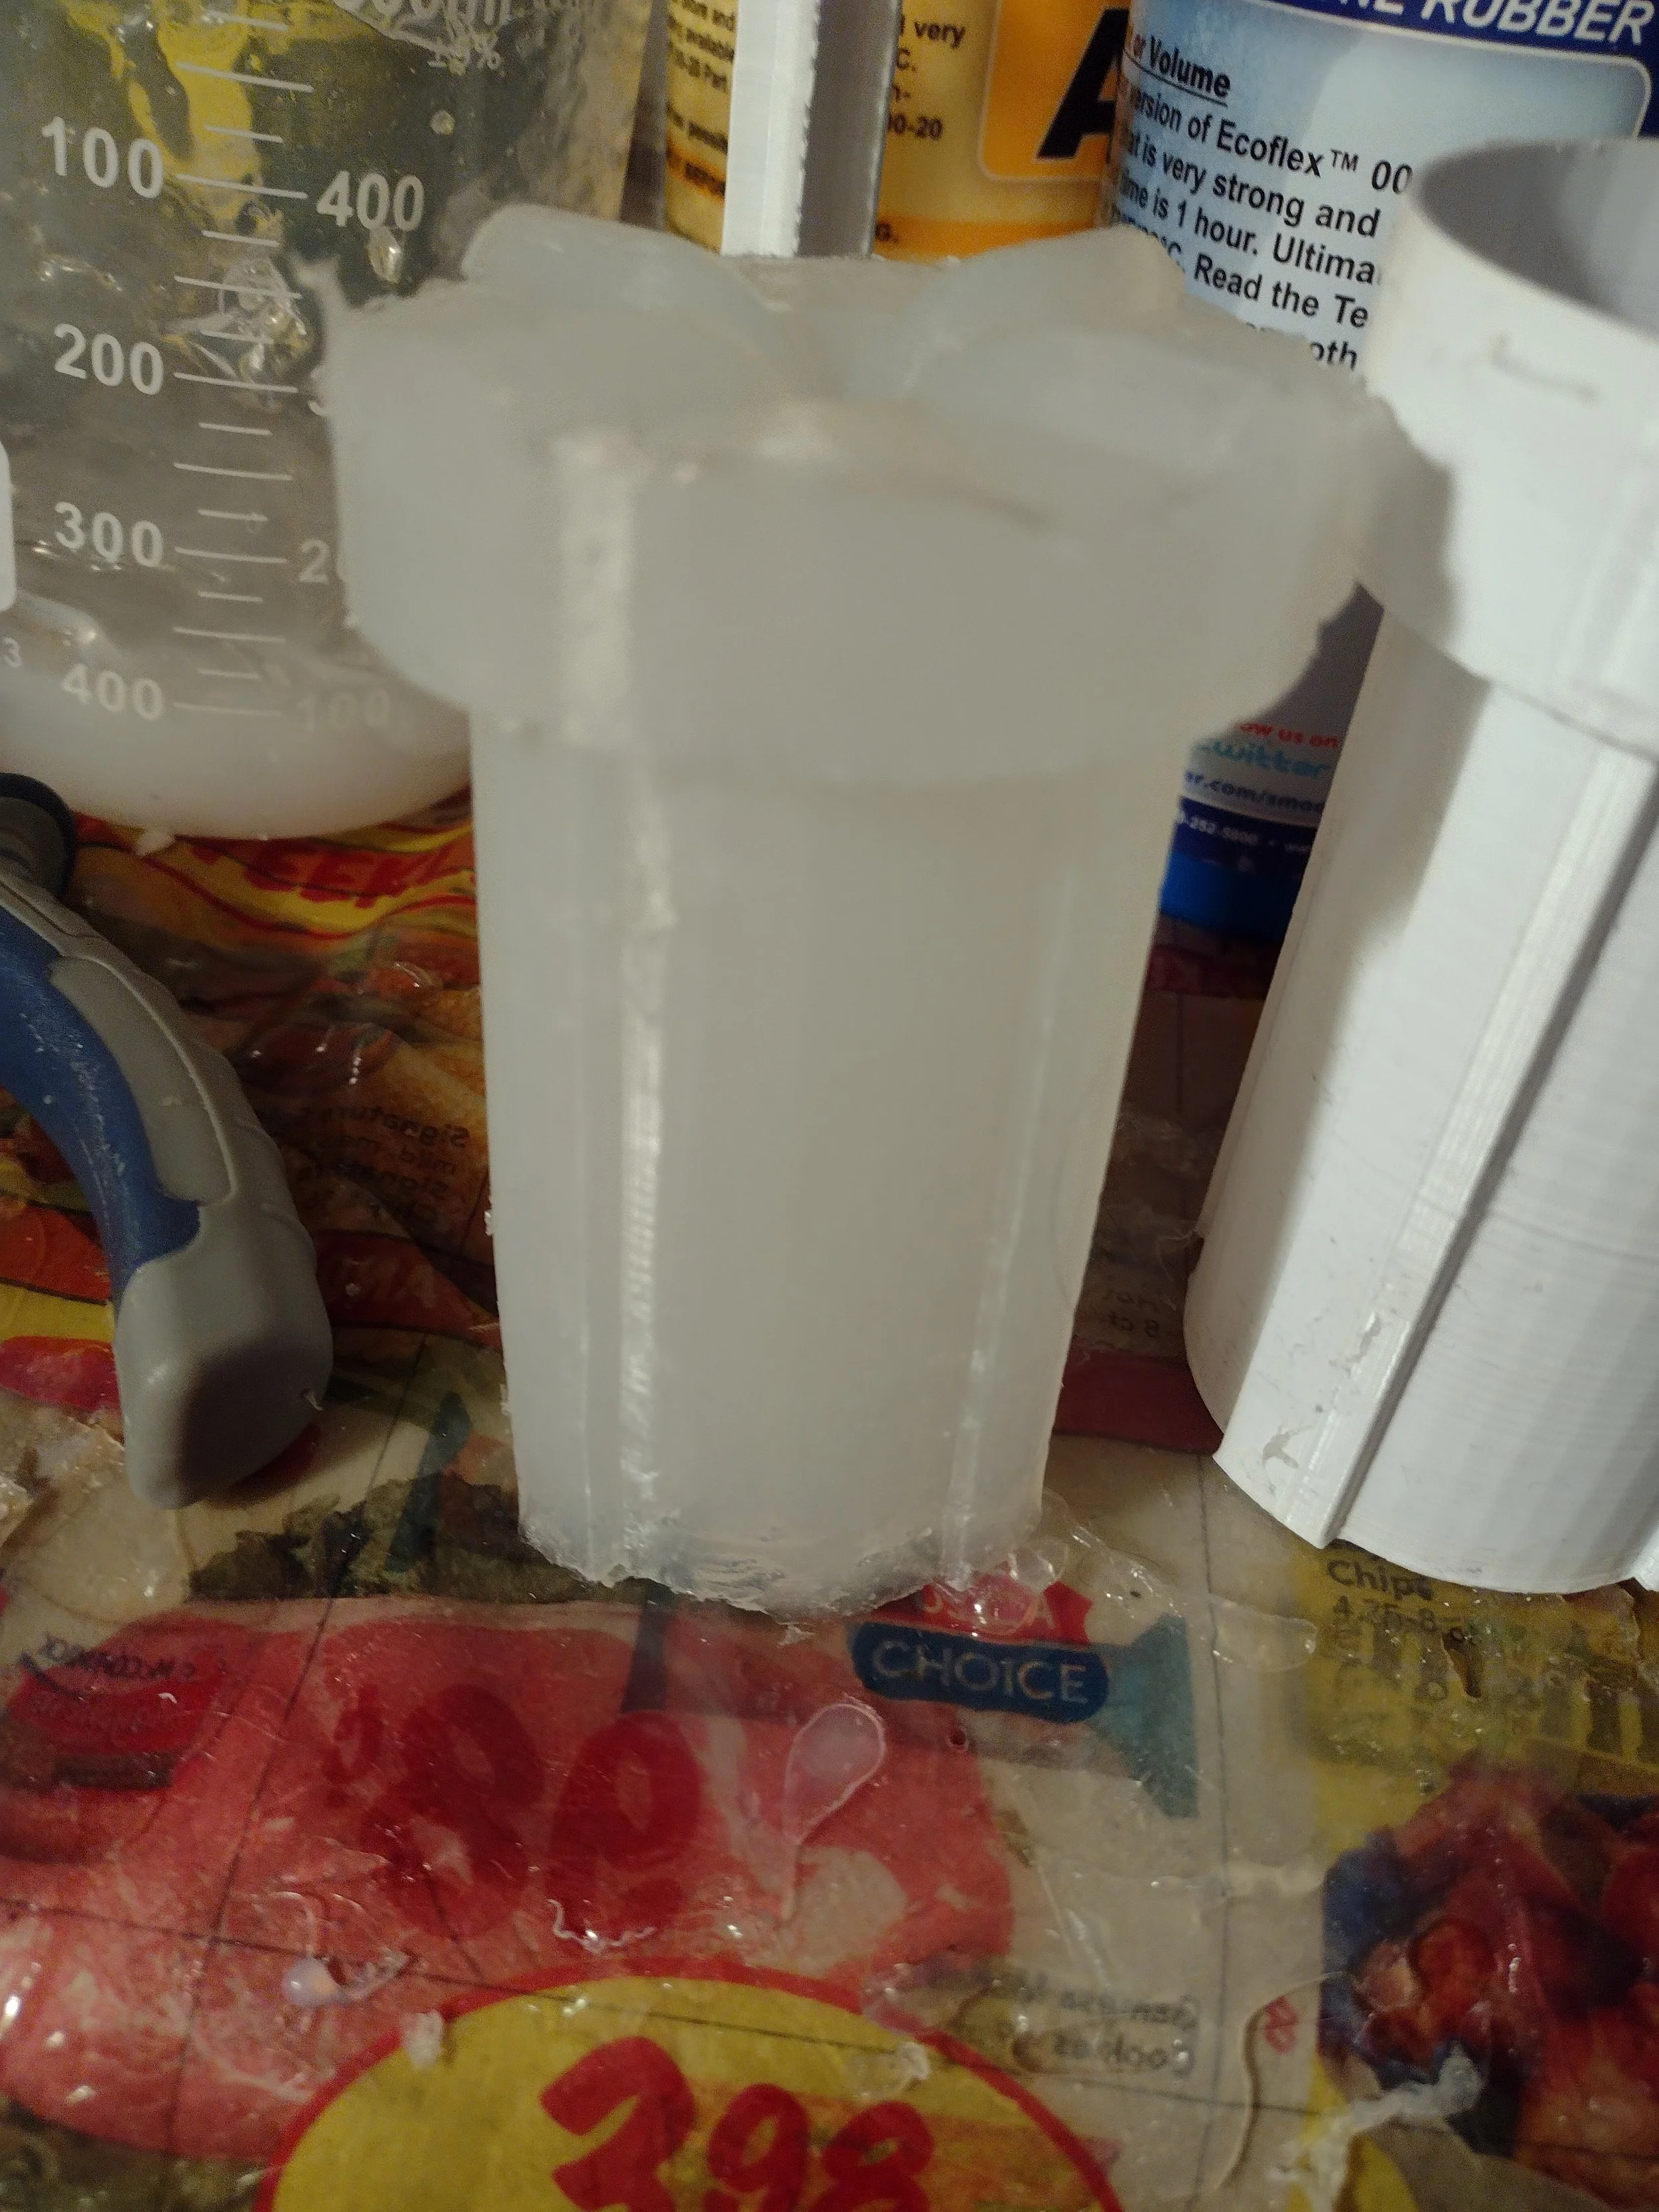
STEP 3: Mold pieces are then sprayed with a mold release, and then glued together so the liquid silicone doesn’t leak out.
STEP 4: Silicone is then weighed out, mixed, and poured. Silicone is a great choice because it’s hypo-allergenic, and body safe.
STEP 5: Once the silicone cures, it is pulled out of the mold, coated in a silicone/acrylic microsphere coating to reduce friction, and then given it’s outer ABS shell, and is ready for use.


